How to Build a Map
The foundation of a bikepacking map is the GPS data from your routes. Currently, only Strava is supported as a data source. However, future updates will include GPX file imports and connections to additional apps.
The workflow of building a map consists of 4 steps:
- Connect to Strava
- Select Activities
- Customize your map
- Export your maps
You are guided through these steps when you start building your map by connecting to Strava.
How to Connect to Strava
Click the "Connect to Strava" button to establish a connection. Follow the on-screen instructions to log in to your Strava account and grant the necessary permissions for the app to fetch your data.
Note: Activities marked as "private" will not be fetched!
You can try it out here:
How to Select Relevant Activities
After connecting to Strava, you are redirected to select your activities. There, you can fetch activities based on a date range. The app will display the dates and names of all activities that are "public" or "public to followers" within the selected range. Use the checkboxes to select the activities you want to include in the map, or use the top checkbox to select all.

Finally, you can click on "Create Map" to build the map with the selected activities.
How to Customize Your Map
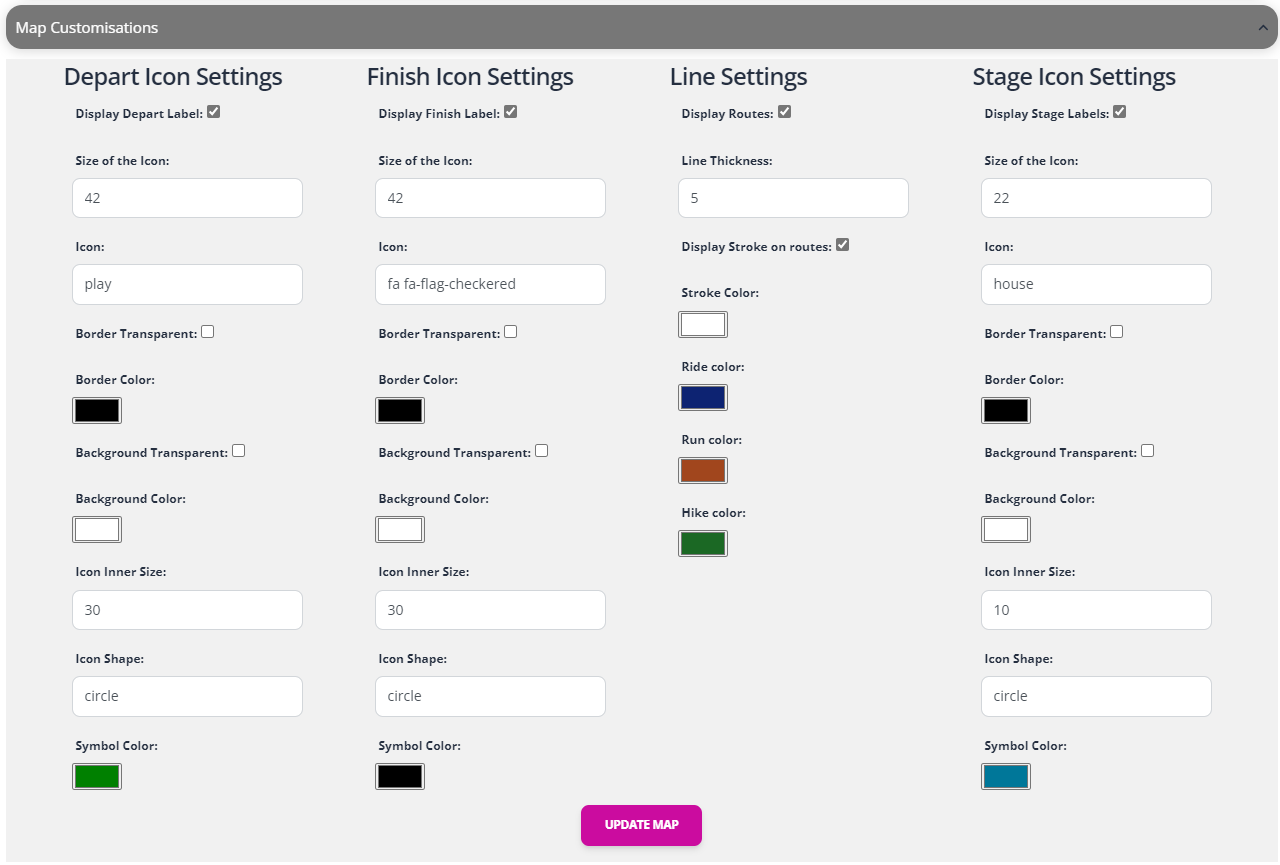
Once your activities are selected, the map will be built and displayed. You can customize all lines and markers by clicking on the settings button.

For icons, you can use Bootstrap Glyphicons, which provide over 250 glyphs for free. Enter the icon name directly into the icon field (e.g., "house").
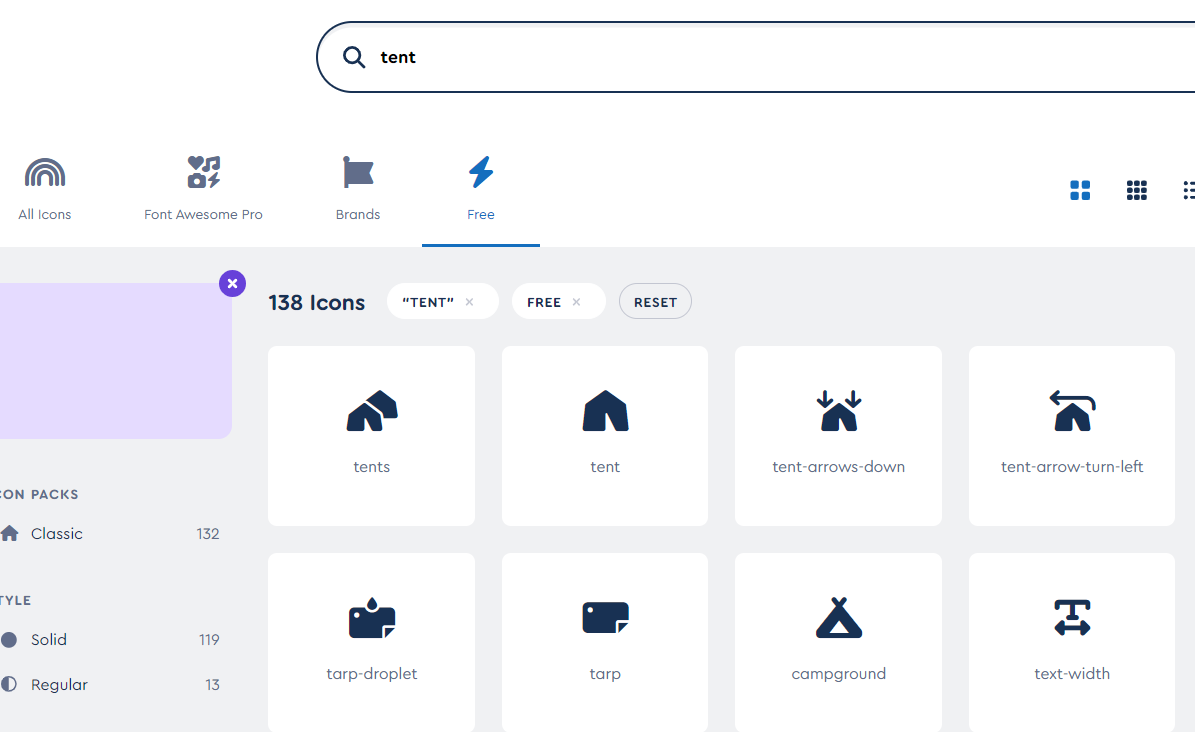
Alternatively, you can use Font Awesome icons, a collection of scalable vector icons that can be customized and used in various ways. Add the "fa" prefix to the icon name (e.g., "fa fa-flag-checkered").

Experiment with different icons, colors, and styles to create your unique map. Have fun!
How to Export Maps
Finally, click "Export Maps" to download your created visualization. You can download the full map as HTML or PNG, as well as the map and profile of each stage in PNG or HTML format. Don't foget this as we are deleting all your data after 30 min of inactivity.

Share your maps with friends, print them, or use them in a photo book. Enjoy building your maps!